Just because we are not in the public eye, does not mean we deserve to let ourselves go.
We have time today!
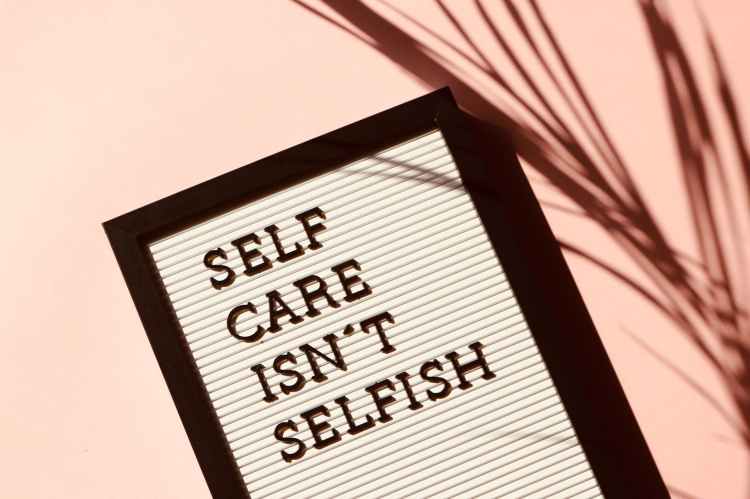
During these uncertain times, consider this a self maintainance resource to stay fly, educated and encouraged.
Hair
Ladies I know its been rough. However, whoever your current stylist is and I have worked very hard to groom and maintain a healthy head of hair. Due to personal hygiene guidelines, I know it’s an absolute must that you shampoo and condition your hair at home. So let me walk you through some fundamental steps so that you don’t incur any damage. Its easier to self shampoo in the shower (personal opinion).
1.Rinse hair thoroughly a good 30 to 45 second rinse insure any topical oils and residue are rinsed off to produce a proper lather.
2.Apply a silver dollar amount of a clarifying or cleansing shampoo to palms and emulsify shampoo over your hair before blotting all over your head (this stretches your shampoo out and gets a lather going). Work your lather through from root to end (applying more shampoo if necessary). If you didn’t get a sufficient first lather, a second cleansing shampoo is a recommended. Rinse thoroughly.
3.Apply a quarter size amount of a moisturizing or hydrating shampoo to palm and repeat step 1 making sure to really cover all areas of the hair and scalp with a rich lather. Rinse thoroughly.
4.Lightly towel dry your hair and apply a silver dollar amount of a moisturizing, detangling or hydrating conditioner starting at the ends of the hair working your way up to the scalp. Apply in sections so that hair is covered. Gently detangle hair from ends to root with a wide tooth comb. Depending on the type of conditioner, leave on for a minimum of 10mins and maximum or 20mins, cap and heat are optional. Rinse thoroughly with warm water, and finish with a cool rinse.
5.Towel dry hair for a maximum of 5 mins before applying a nickel to dime size of leave in conditioner concentrating on the ends to mid shaft, edges, and nape of neck. Style as desired.
Blowdrying natural hair-
Part hair into 2 to 4 sections, making sure the other sections are detangled and loosely twisted to prevent re-tangling. A comb attachment is preferred for home blow drying. Start on a lower heat setting and work your way from root to end not concentrate heat on the ends. Mist as needed with water to keep the hair supple.
If using a paddle brush, make sure you are not directing the heat of the blowdryer on top of the brush, but over the hair to prevent heat damage. Misting as needed to keep the hair supple. You have a better chance of getting curly or course hair straight while its still damp.
Blowdrying relaxed hair-
Towel dry for a maximum of 5 mins. Allow hair to air dry for 5-10mins before blow drying on medium heat.
Wet setting –
Towel drying isn’t necessary. Section hair for desired style. If your wearing a shampoo and go, section hair in thin sections applying your favorite leave in and curl enhancing products while hair is still pretty wet. Making sure to evenly coat each section, brushing thru with a paddle brush, finger coiling or scrunching. Let it dry without to much manipulation so you don’t frizz it out.
If rolling, rodding, or doing a twist out, section hair for desired style, apply your favorite leave in, and alcohol free styling foam and go for it. Remember if rodding, use end papers to ensure smooth frizzy free ends.
Styling Tips–
- Never blow-dry sopping wet hair. Hair is in its most vulnerable state when its wet, so allowing it to towel and air dry a bit is always the healthiest option.
- When applying leave in conditioner or serum, don’t forget the back of your hair. The back of the hair sometimes gets neglected.
- The nozzle of the blowdryer is your friend. It provides the proper distance between the hair and the tip of the dryer, which will singe the hair if it gets too close for too long. Additionally it keeps the air flow concentrated, creating a smoother finish.
- Apply as much conditioner as you need to satisfy your hair texture and length, this will help with detangling.
- As you rinse, make sure you are opening sections of your hair. (Shampoo and Conditioner likes to hide in thick hair, it can easily be missed, which can leave residue on scalp and hair)
- Keep a plastic cap on sections of wet hair that is waiting to be blow dried or wet set to stay supple.
- Keeping a water bottle handy will make your job easier for blowdrying and wet setting.
- Remember not to over condition hair, rinse well, and not to use too much heat.
- After you initially use your flat/curling iron on your clean hair..PUT IT AWAY!!! Curling dirty hair is an accelerated way to damage.
- Stop putting wet hair in tight ponytails. Hair is most vulnerable while wet, the tension will cause damage to edges over time.
Recommended Shampoo
Clarifying/Cleansing Shampoos-
Design Essentials Oat Protein and Henna Deep Cleansing Shampoo
Naked Biophuse Refreshing Shampoo (Sulfate Free)
Kera Care 1st Lather Shampoo
Naked Detox Clarifying Shampoo
Hydrating/Moisturizing/Detangling Shampoo
Design Essentials Almond & Avocado Moisturizing & Detangling Shampoo. (Sulfate Free)
Naked Moisture Repair Sulfate Free Shampoo
Naked Honey & Almond Moisture Whip Shampoo
Kera Care Hydrating Detangling Shampoo (Sulfate Free option available)
Conditioners
Design Essentials Almond & Avocado Moisturizing and Detangling Conditioner (Sulfate Free)
Design Essentials Rosemary & Mint Stimulating Super Moisturizing Conditioner for Dry & Brittle Hair
Design Essentials Almond Butter Express Instant Moisturizing Conditioner
Naked Honey/Almond Whip Conditioner (Light Moisture)
Kera Care Humecto Conditioner (Light Moisture, Great Detangler)
Amika Soulfood Nourishing Mask
Amika The Kure Repair Conditioner
Leave in Treatments/Heat Protectants
Moroccan Oil Treatment
AG Hair Fast Food Leave on Conditioner
Amika Wizard Detangling Primer
Kera Care Leave In Conditioner
Kera Care Detangling Conditioning Mist
Naked Infusion 365
HSI Professional Argon Oil Heat Protecter
Nails
For those of you you who got caught up with gel or acrylic nails and didn’t make it to the nail salon before the Shelter in Place, your in luck! My Sisters Sabrina Rowe and Sharlinda Parker of Tu La 2 Nails in Atlanta Ga, shared a very informative post on how to soak your nails off at home.
You’ll need: Aluminum foil, a nail file, cotton balls, glass bowl, towel, orange wood stick or cuticle pusher, 100% acetone nail polish remover, cuticle oil and moisturizer.
The steps are pretty simple. If you’ve ever gotten a gel manicure removed at the nail salon, this will seem familiar to you. It’s typically how we remove gel. It’s easier to do one hand at a time. Please layer your table with towels to protect your furniture. Soak 10 small cotton balls in acetone in a glass bowl (not plastic) until it’s saturated. Lightly buff the shine off the gel polish. Put the soaked cotton ball on top of the buffed nail, and wrap your finger in a small square piece of aluminum foil to keep the cotton ball in place. Set a timer for 10 minutes.Remove the foil wrap one at a time, and use the orange wood stick or cuticle pusher to remove the gel. Use the cotton ball to wipe off any leftover gel on your nails. If gel did not completely come off, repeat steps. Please repeat this for your other hand. Slightly buff your nails, then clip desired shape, then add cuticle oil and moisturizer.
I would polish with a nail hardener as your base coat, and be aware that your nails may be a little weak. My two cents, not the experts.
Skin
I’m sure by now you have a standard skin routine. We all have different DNA, however how you care for your skin can be the simple difference between glowing skin and just ok skin. If your are consistent with these steps, you are off to a great start.
- Cleansing – Washing your face
- Toning – Balancing the skin
- Moisturizing – Hydrating and softening the skin.
The goal with any skin-care routine is to tune up your complexion so its functioning at its best, and also troubleshooting or targeting areas you want to work on. As your skin needs shift with age, so will your products. Its not about creating perfection, give yourself time to let these three steps become your daily ritual that fortifies your skin.
Give it time. The science behind skin-care products has come a long way but there’s no such thing as an instant fix, you need time to reap the benefits. Results are only seen though consistent use. Generally I aim to use a product over at least six weeks, once or twice daily to notice a difference. As tired as I am most evenings, my skin suffers the most if I don’t wash it before bed. It is a must to keep breakouts and and subtle irritations at bay. So let’s embrace this time to take notice of your products and determine if they are working to the best benefit of your skin. Exfoliate, find a mask you love, explore serums, eye creams, and peels. Drinking enough water is also an excellent part of your skin routine, if its not..it should be.
Self-care is giving the world the best of you, instead of what’s left of you.
Katie Reed
She remembered who she was and the game changed
-Lalah Deliah
